
Supporting media in a book can help bring the text to life. The Builder supports several different media: images, videos and audio clips. You can add your own media to a book, or explore the Builder's existing library of content.
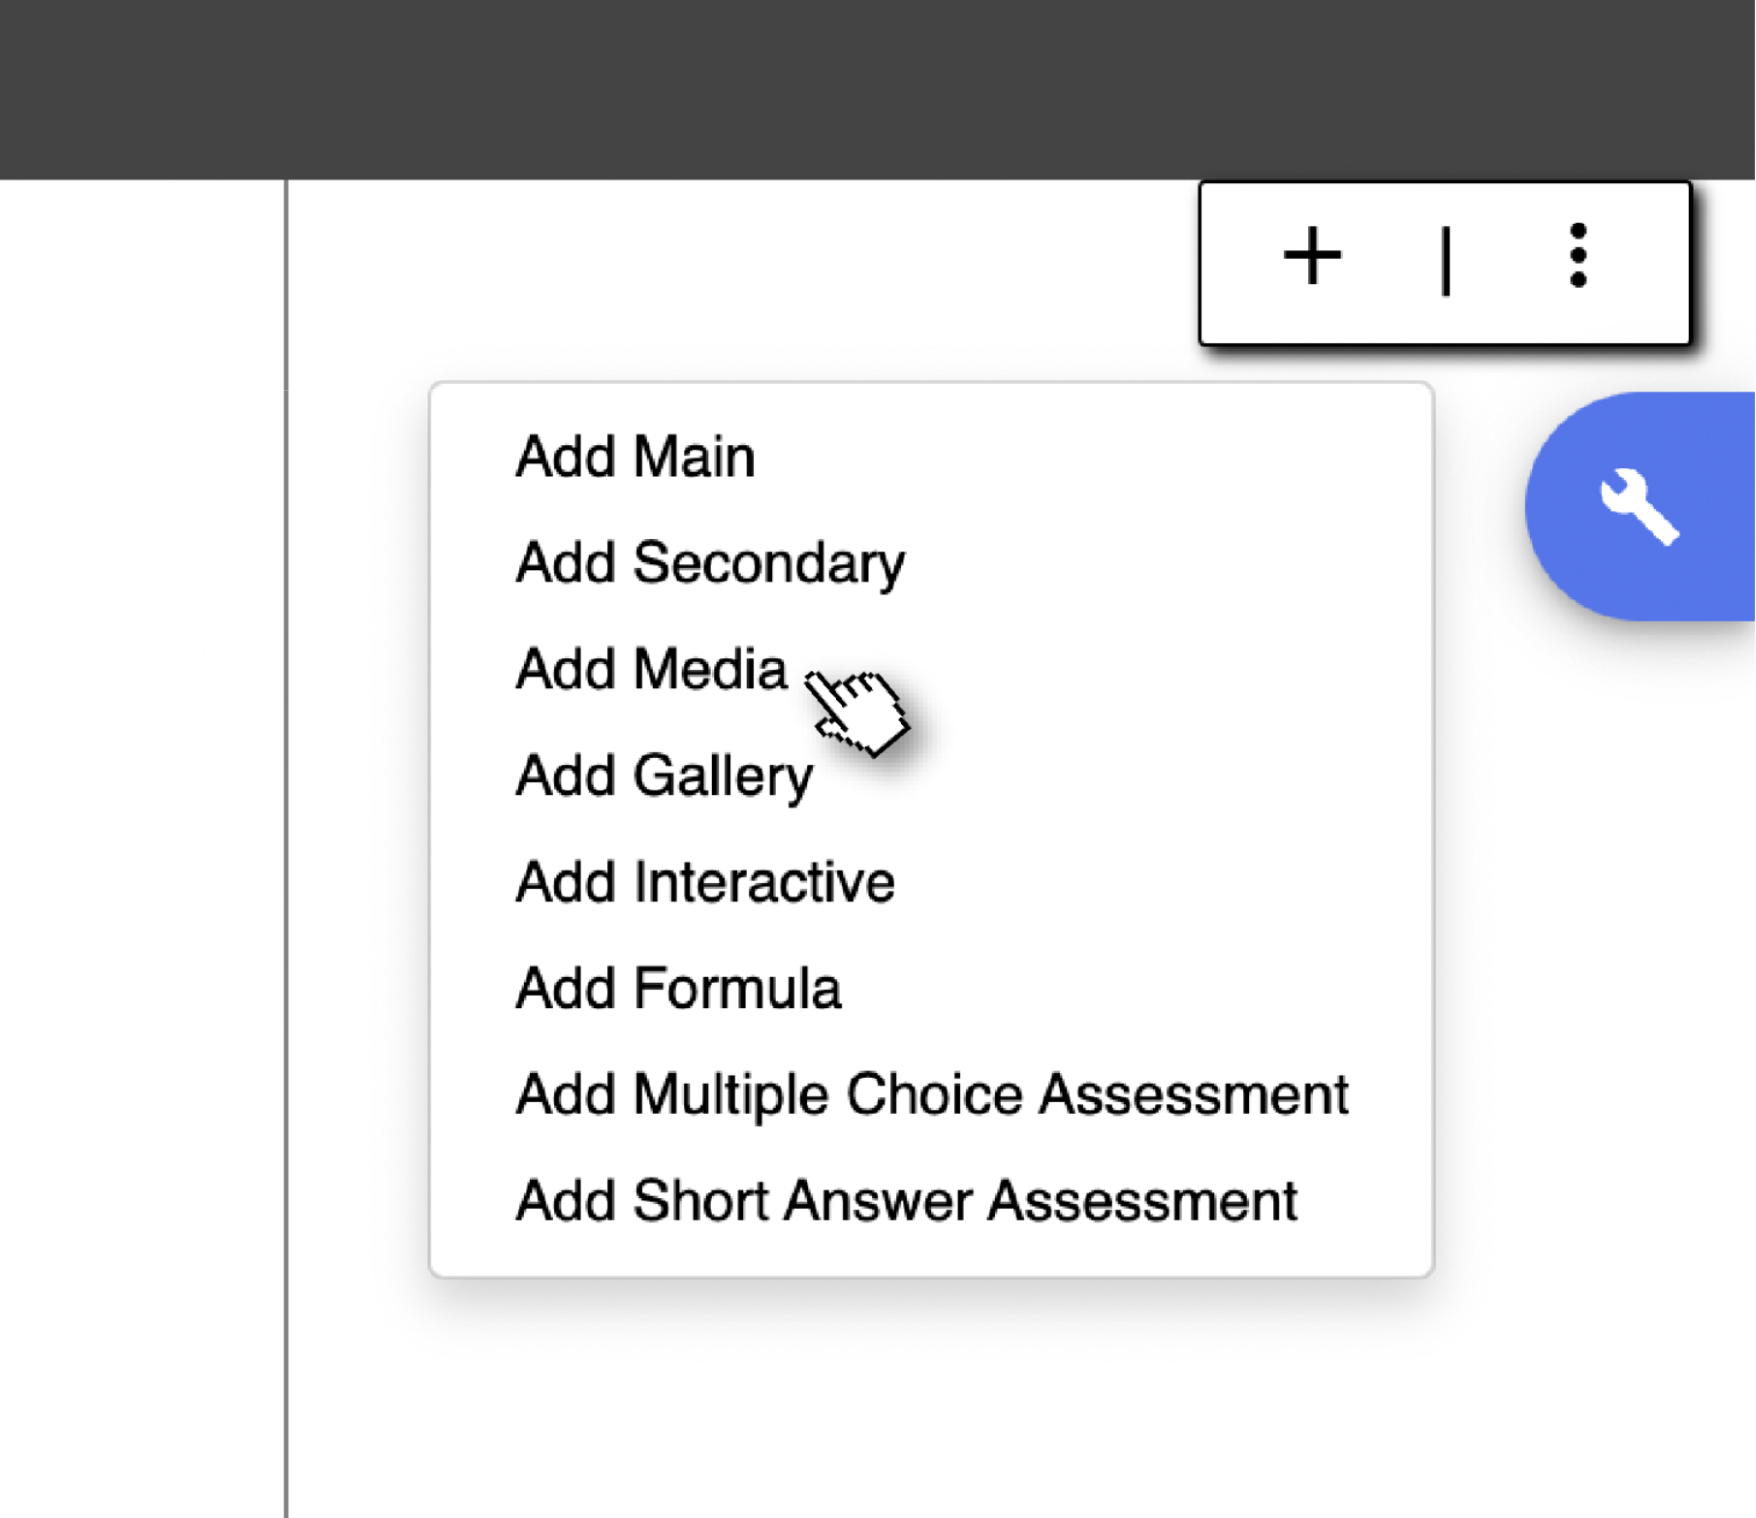
To add a new media block, select add media from the new content drop down menu (plus sign). This will bring up a new modal where you can search the Builder's content library, or upload new content. This modal can also be accessed from the blue navigation bar on the left. More information on this menu can be found here.
To use an existing media item, use the search bar to explore the Builder's content, select the item you want, hit the check in the bottom, and place the item on the page.

To add a new piece of media, click the plus sign to the right of the search bar. This will open the edit media modal, with a new blank media item entry. Select the button in the gray box to upload your media item. Once uploaded, you can begin to edit the media’s information below.
The edit media modal has 3 sections: basic, sources, and rights. Media items used across multiple books share the same data. Changing titles, captions, and other information on an existing item might change the content of another book, so you should only edit the information of new media you are uploading.
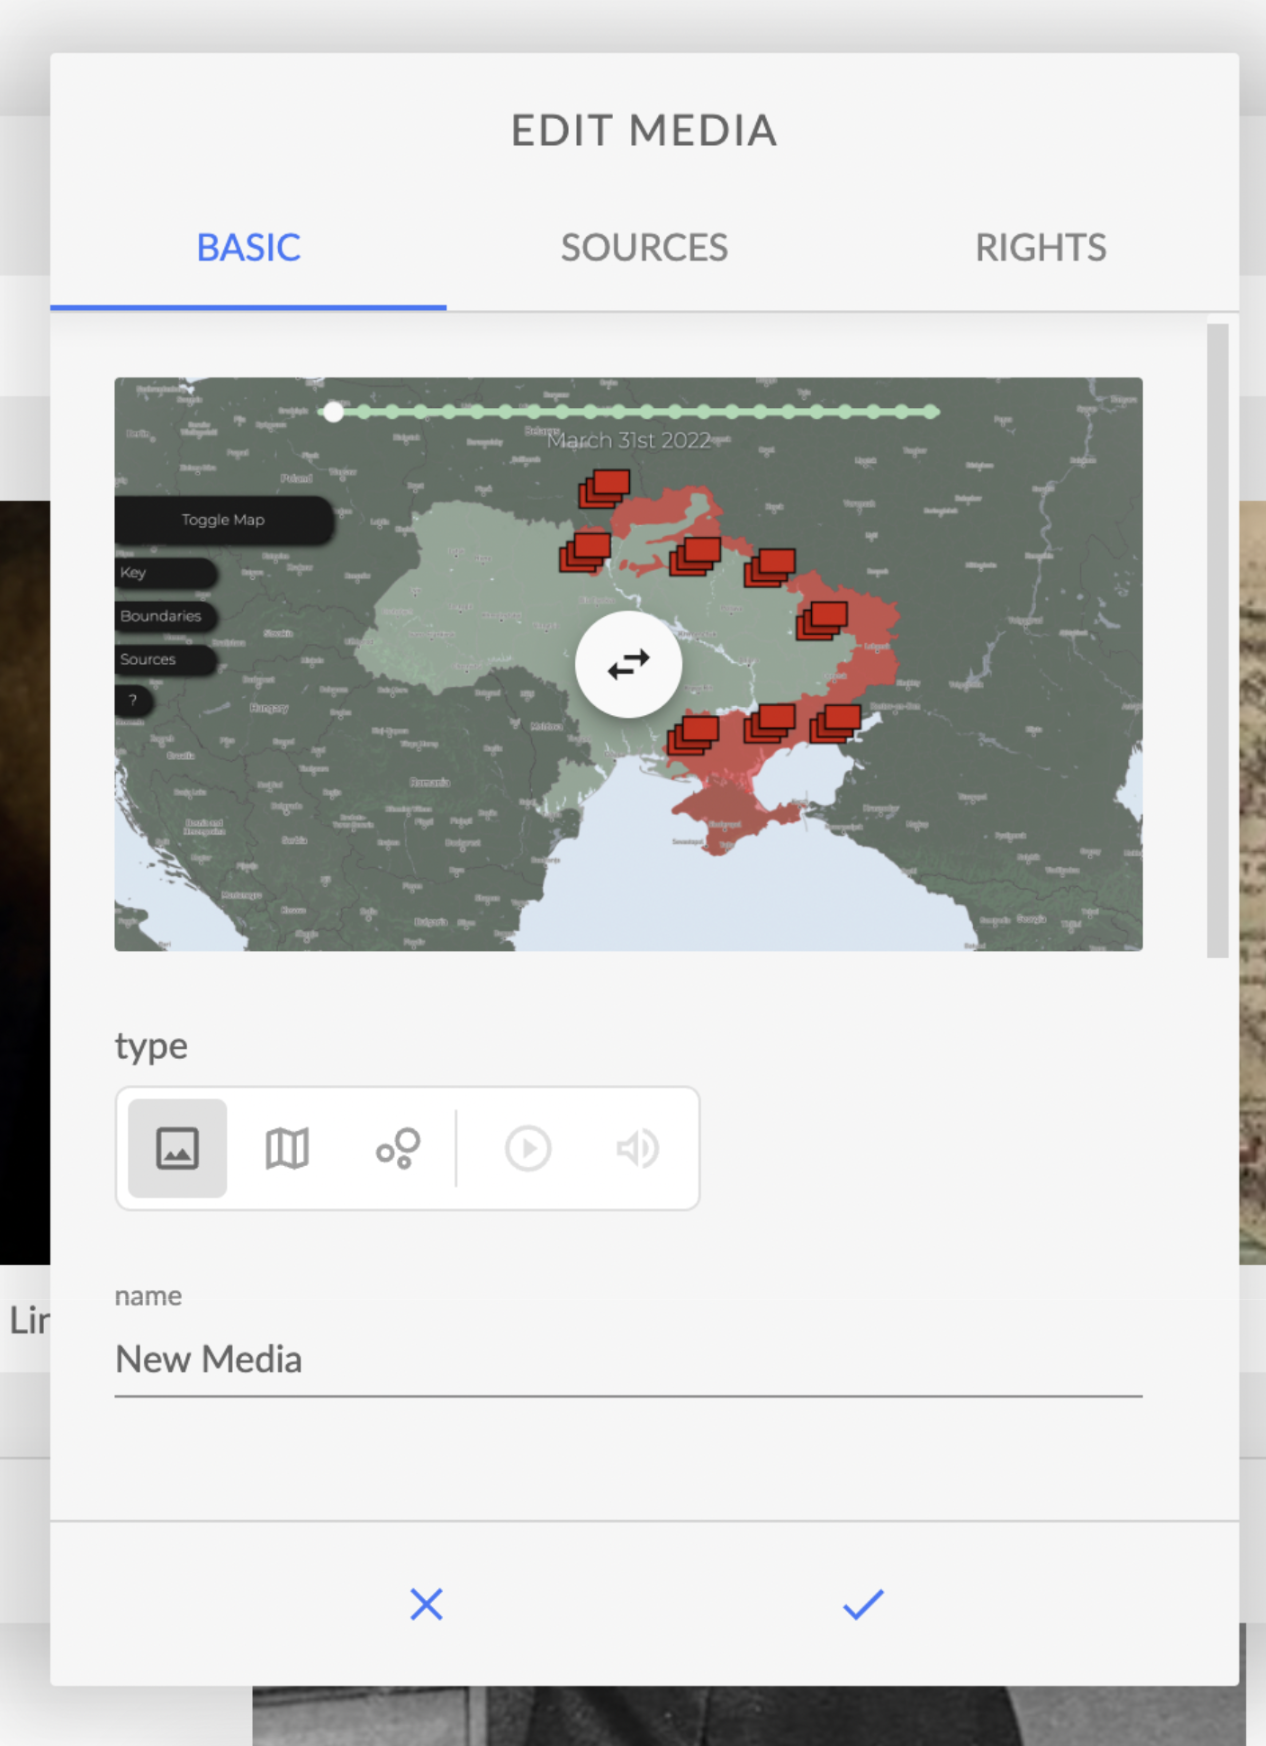
Basic
The most common fields live in the basic section.
Media type is set automatically by file type, but can be set manually if you want to specify an image as a map or data visualization.
Name is the title that will be searchable within the Builder's media library. If no display name is set, this name will appear on the page in the search results. The name is also the title that will be seen on the page underneath the media item and in the media search results. This can be hidden using the object toolbar, which we’ll cover in a bit.
Caption like name will be visible underneath the media item, and can be hidden using a setting in the object toolbar.
Link allows you to connect additional information when the media item is clicked - an external link, a glossary term in the Builder's database, or a different page within the same book.
Tags will eventually be searchable within the media library, but is currently a beta feature and should be disregarded for now.
Sources
The sources tab allows you to document where your media item comes from. This information will not appear on the page, but can be useful for citing an image’s sources.
Rights
Similar to the sources tab, the rights tab allows you to give attribution information about the piece of media being uploaded. Most content in the media library is open source.
Once you are satisfied with your metadata, click the check mark to save your changes. Then, using the search bar, search the name you assigned you media, select it, hit the check in the bottom, and place your media on the screen.
If your media object has title/caption you want to show or hide, go to the object menu, select info toggles, and set which information you want to show and hide. The object menu also allows you to change the layout and crop of your content. A more in depth look at this toolbar can be found here.