
Selecting a Project
When you open up the builder for the first time, you should see a blank page with a variety of tool icons on the surrounding edges of the page.
The first thing we want to do is ensure that we’re in the correct project. Click the “Projects” button in the top left corner to reveal the Projects panel. The Projects panel has two tabs: “All Projects” and “Current Project”. You may be working on multiple projects at once, depending on your level of access.
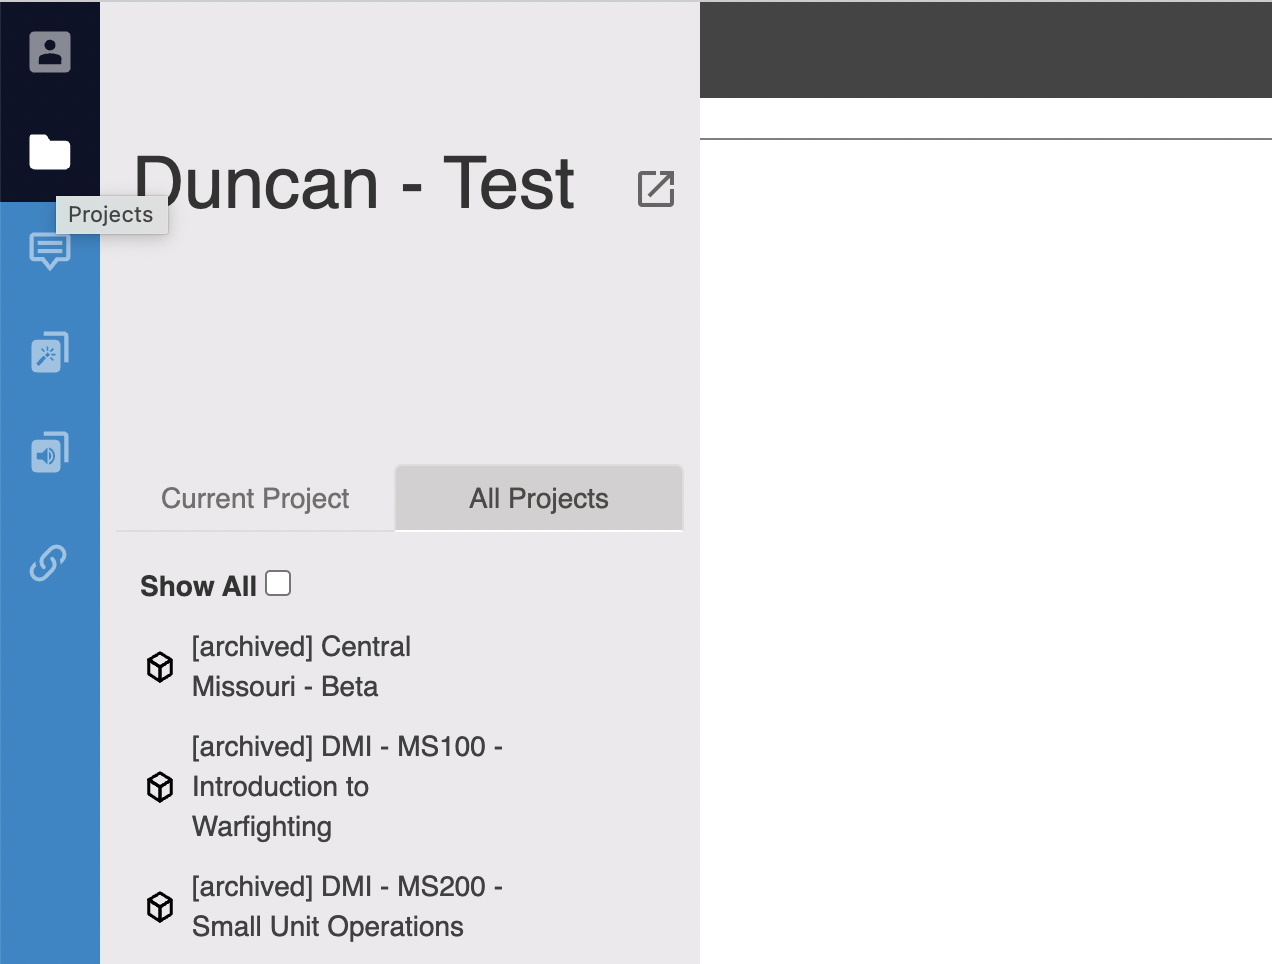
Select the “All Projects” tab and find the correct project title from the list below. Once you have selected your project navigate to the “Current Project” sub-header.
Here you’ll be able to navigate to any page in your book by clicking on it. Some projects may have subdirectories and chapters that might contain the page you’re looking for. You can open these by clicking the corresponding arrows on their right side.

Adding Pages, Sections and Chapters
Chapters, sections, and pages can be added to your page using buttons on the bottom of the panel:

Adding a Page
A page will be inserted to whatever page object you have currently selected. This can be changed later, but if you have a section or a chapter selected your new page will be added here.
A page will be added with the title “New Page”. Change this as soon as possible to prevent organizational issues.
If you have a page selected instead of a chapter or section, that page will be added into at the same directory level as the selected page. You may need to refresh your page to see it. The best practice is to create your chapters and sections first and then add pages into these.
Adding Chapter & Sections
The “Add Chapter”button in the bottom of the panel adds a new empty chapter to your project. You should rename it in the same way you do with pages.
Clicking on this chapter and pressing add page will do two things:
You’ll add a new page to this chapter
You’ll open up this chapter for pages to be dragged into it. Empty chapters and sections will not be able to accept pages or sections that are dragged into them without first containing at least one item.
Chapters are your broadest organizational structure. Sections can contain pages and sub-sections of their own. Organizing your book with chapters and sections not only makes it easier for you to express your ideas clearly, but it directly translates the content into a searchable digital text that users can navigate easily.
A good organizational framework is to start with Chapters, add sections, subsections and then pages - depending on how large your project is.
Deleting a Chapter, Section or Page

Deleting something from your book is as easy as selecting and pressing the small trash can button at the bottom of the panel. It’s important to note that deleting a section or a chapter will delete all nested Items from this directory. If you accidentally delete chapters, sections, or pages from the builder you can use the “Saving and Editing History” feature to revert your page. You can find out more about that here.
Copying and Sharing Content
The Builder makes it easy to duplicate or share an entire page from your own project to another one.
Clicking the clipboard icon (above) will open a menu where you’ll be able to select which project you’d like to copy or share the page to.
In the Builder, Copy means to duplicate the page and send it to another project. If this new copy is edited it will not affect the original page. There’s no link between the two.
If you choose to Share the page, both projects will reference the same page, and any edits on one will be seen on the other. This can be useful if you are using information that is continuously changing, like data from cutting edge field. However, this option may increase the likelihood of errors, redundancies and confusion if there is no clear consensus on where the pages will be used and how they’ll be edited.
A good rule of thumb is to use copy for most pages, and only use share with caution and a clear editing plan.